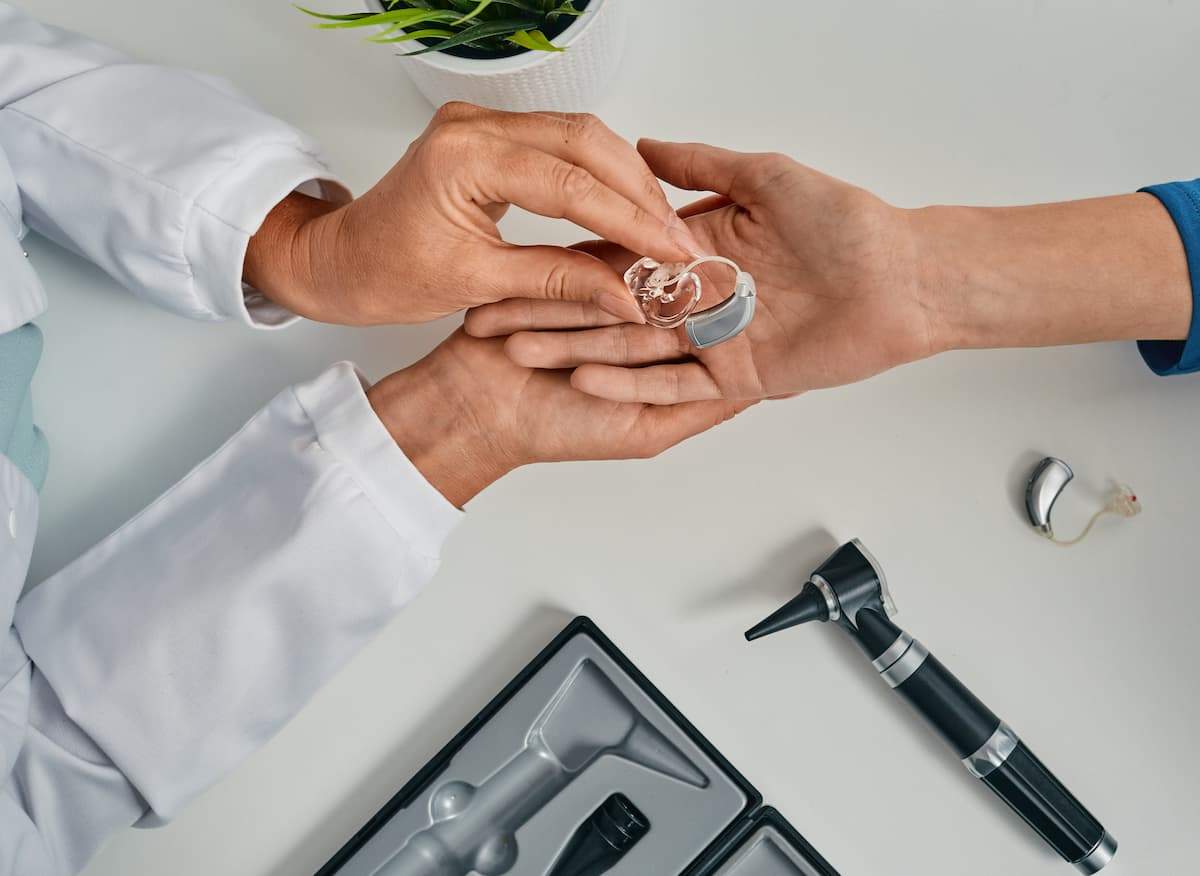
How to Clean Hearing Aids? - A Complete Guide for Better Performance and Longevity

How to Clean Hearing Aids? - A Complete Guide for Better Performance and Longevity

For anyone who relies on hearing aids, keeping them in excellent condition is essential for sound clarity, comfort, and longevity. With exposure to wax, dust, and moisture, hearing aids need regular cleaning and care. In this guide, we’ll cover everything you need to know about how to clean hearing aids properly at home, from daily maintenance to brand-specific tips, to ensure your device stays in top condition for as long as possible.

You may also be interested in:

Part 1. Why Cleaning Your Hearing Aids is Essential?

Hearing aids interact with earwax, sweat, dust, and moisture every day, which can lead to issues like muffled sound or even device malfunction. Understanding how to clean hearing aids of wax and other build-up keeps sound quality high and ensures your hearing aid is comfortable and effective.

Ignoring routine maintenance can lead to problems over time, such as:

  • Decreased Sound Quality: Wax or debris can clog speakers and microphones, leading to sound distortion or diminished clarity.
  • Device Damage: Moisture and debris may harm the internal components if left uncleaned, reducing the life of your hearing aid.
  • Skin Irritation: Accumulated dirt and oils can cause skin irritation around the ear.

So, what’s the best way to clean hearing aids for optimal performance? With the right tools and a few minutes each day, you can make a big difference.

Part 2. Essential Tools for Cleaning Hearing Aids

Cleaning hearing aids effectively doesn’t require professional tools—simple items can help. Here’s what you’ll need:

  • Soft, Dry Cloth: For gently wiping away sweat, dust, or oils from the surface of the hearing aid.
  • Hearing Aid Brush: A small brush designed to sweep away earwax and dust without damaging delicate parts.
  • Wax Pick or Loop: A slim tool for removing wax from small crevices, like around the sound opening or microphone.
  • Cleaning Wire: Commonly used with in-the-ear (ITE) hearing aids, this thin wire can reach narrow spaces that a cloth or brush might miss.
  • Drying Kit or Dehumidifier: Essential for removing moisture, which is especially important if you live in a humid environment or wear your hearing aids during exercise.

Knowing how to clean hearing aids at home using these tools makes daily maintenance quick and easy, helping you enjoy consistently clear sound and a comfortable fit.

clean-hearing-aids-clean-wire

Part 3. Can You Clean Hearing Aids with a Wipe?

Using wipes is a common question—can you use baby wipes to clean hearing aids or can you clean hearing aids with alcohol wipes? Here’s what you should know:

  • Baby Wipes: These are not recommended, as they contain moisture that may damage hearing aids over time.
  • Alcohol Wipes: Alcohol can degrade the plastic or silicone, so it’s best avoided. Instead, use hearing aid-specific wipes or simply a dry cloth.

Moisture is the enemy of electronics, so stick to dry cleaning methods to avoid issues.

Part 4. Step-by-Step Guide on Cleaning Popular Hearing Aid Brands

Each brand’s hearing aids might have unique cleaning requirements. Let’s look at brand-specific care tips for keeping your devices in great shape.

1.Cearvol Hearing Aids

Cearvol hearing aids are designed for comfort and ease of use. Here’s a detailed guide on how to clean Cearvol hearing aids to ensure their performance and longevity:

  1. Daily Wipe Down: Use a soft, dry cloth to gently wipe the outer surface of the hearing aids each day, removing sweat, oils, and dust. This step helps keep the device clean and prevents dirt from building up, enhancing your overall experience.

  2. Remove and Clean Ear Tips: Regularly detach the ear tips and use cleaning tools to gently clean the inside of the ear tips, removing any accumulated earwax. Make sure to clean around the edges of the ear tips to maintain a good seal and sound quality.

  3. Clean Small Crevices: Use a wax loop or cleaning wire to gently clear any wax from the small openings near the microphone and receiver. This step is crucial to ensure clear sound transmission and to prevent any obstruction.

  4. Moisture Control: Although Cearvol hearing aids have some water resistance, it's best to place them in a drying case after exercise or use in humid environments to remove excess moisture. This precaution helps protect the internal components and prolongs the life of the device.

2.Phonak Hearing Aids

Phonak hearing aids often come with cleaning instructions and tools specific to their devices. Here’s how to clean Phonak hearing aids:

  1. Surface Cleaning: Use a soft, dry cloth to wipe down the device every night to remove oils and sweat.
  2. Wax Removal: Use a small brush to sweep wax away from the sound port and microphone areas.
  3. Keep Charging Contacts Clean: For Phonak’s rechargeable models, make sure the charging contacts remain free of dust or debris.

3.Oticon Hearing Aids

Oticon hearing aids are built to be resilient, but still require routine care. Here’s how to clean Oticon hearing aids:

  1. Daily Wiping: Wipe down with a soft, dry cloth to remove any accumulated dust or oils.
  2. Wax Brush: Use Oticon’s specialized wax brush to remove wax from the speaker opening and microphone ports.
  3. Avoid Moisture: Refrain from using water or high-moisture cleaners, as Oticon hearing aids are sensitive to humidity and moisture.

If you live in a humid area, consider using a dehumidifier every night to keep moisture from affecting your device.

4.Philips and ReSound Hearing Aids

For Philips and ReSound devices, regular cleaning with a dry cloth and wire tool works best. Here’s how to clean Philips hearing aids and how to clean ReSound hearing aids:

  1. Daily Cleaning: Wipe the device down each night and inspect for wax or dust.
  2. Wire or Pick for Narrow Spaces: Use a cleaning wire or wax pick to remove wax from tight openings without damaging any parts.

Following these steps daily helps prevent clogs and maintains sound quality.

5.Jabra Hearing Aids

Jabra hearing aids typically come with wax guards, making them easier to maintain. Here’s how to clean Jabra hearing aids for optimal performance:

  1. Regular Surface Wiping: Use a dry cloth to clean the outer surface daily.
  2. Wax Guard Maintenance: Replace the wax guard every 1-2 months, or as directed by the manufacturer.
  3. Check for Moisture: If you wear Jabra hearing aids during intense activities or in humid environments, use a dehumidifier to prevent moisture buildup.

If you’re new to hearing aids, 7 Great Tips for First Time Hearing Aid Users offers valuable insights for maximizing your device experience.

For a visual guide on how to clean hearing aids effectively, check out this informative YouTube video. It walks you through each step of the cleaning process, making it easy to follow along and ensure your hearing aids stay in great condition.

Part 5. How to Tackle Wax Buildup

Earwax is a natural substance that protects the ear, but it can cause issues for hearing aid users. Learning how to clean hearing aids of wax effectively can greatly improve sound clarity and extend the life of your device. Here are steps to handle wax buildup:

  1. Use a Wax Guard: Many hearing aids come with replaceable wax guards that prevent wax from reaching the speaker. Replace these guards every few months to keep your device clear.
  2. Brush Out Wax Daily: Gently use a wax brush to clear away wax from the sound openings and microphone ports.
  3. Cleaning Wire: For in-the-ear models, use a cleaning wire to clear out any blocked passages. Avoid applying too much pressure to prevent damage.

Removing wax regularly ensures clear sound and a better fit for your device.

Part 6. How Often to Clean Hearing Aids and Ears

Consistency is key for both your hearing aids and ear hygiene. Here’s a timeline:

  • Daily: Wipe down the hearing aids every night to remove oils, dust, and wax. This also gives you a chance to check for any visible issues.
  • Weekly: Use a dehumidifier to dry out your hearing aids, particularly if you live in a humid climate or sweat a lot while wearing them.
  • Monthly: Change wax guards or filters to keep sound quality optimal.

For ear hygiene, clean your ears weekly to minimize wax buildup. This not only helps keep your hearing aids clean but also reduces the risk of blockages.

clean-hearing-aids-daily-use

Part 7. Additional Tips for Keeping Hearing Aids in Great Condition

Aside from cleaning, other small habits can help extend the life of your hearing aids and keep them working well:

  • Store Safely: When not in use, store your hearing aids in a protective case with a dehumidifier.
  • Avoid Moisture: Remove hearing aids during any activities that involve water, such as showering, swimming, or heavy rain.
  • Battery Maintenance: If your hearing aids use disposable batteries, remove them at night and leave the battery compartment open to air out. This helps to prevent moisture from building up around the batteries.
  • Professional Cleaning: Every 6-12 months, it’s beneficial to have your hearing aids professionally cleaned, as technicians can reach areas you can’t.

For more advice on hearing aids, explore our Comprehensive Guide: Everything You Need to Know about Hearing Aids.

Conclusion

Regularly cleaning your hearing aids is essential for quality sound and comfort. By following these simple steps and routines, you can keep your hearing aids performing at their best and enjoy clearer sound every day. A few minutes of maintenance each day can ensure that your devices last longer and work more effectively, keeping you connected to the world around you.

前後の記事を読む

White Noise vs Green Noise: Benefits & Comparison
Understanding Unilateral Hearing Loss: Symptoms, Causes, and Treatments

コメントを書く

全てのコメントは、掲載前にモデレートされます

このサイトはhCaptchaによって保護されており、hCaptchaプライバシーポリシーおよび利用規約が適用されます。